
Last updated October 16, 2026
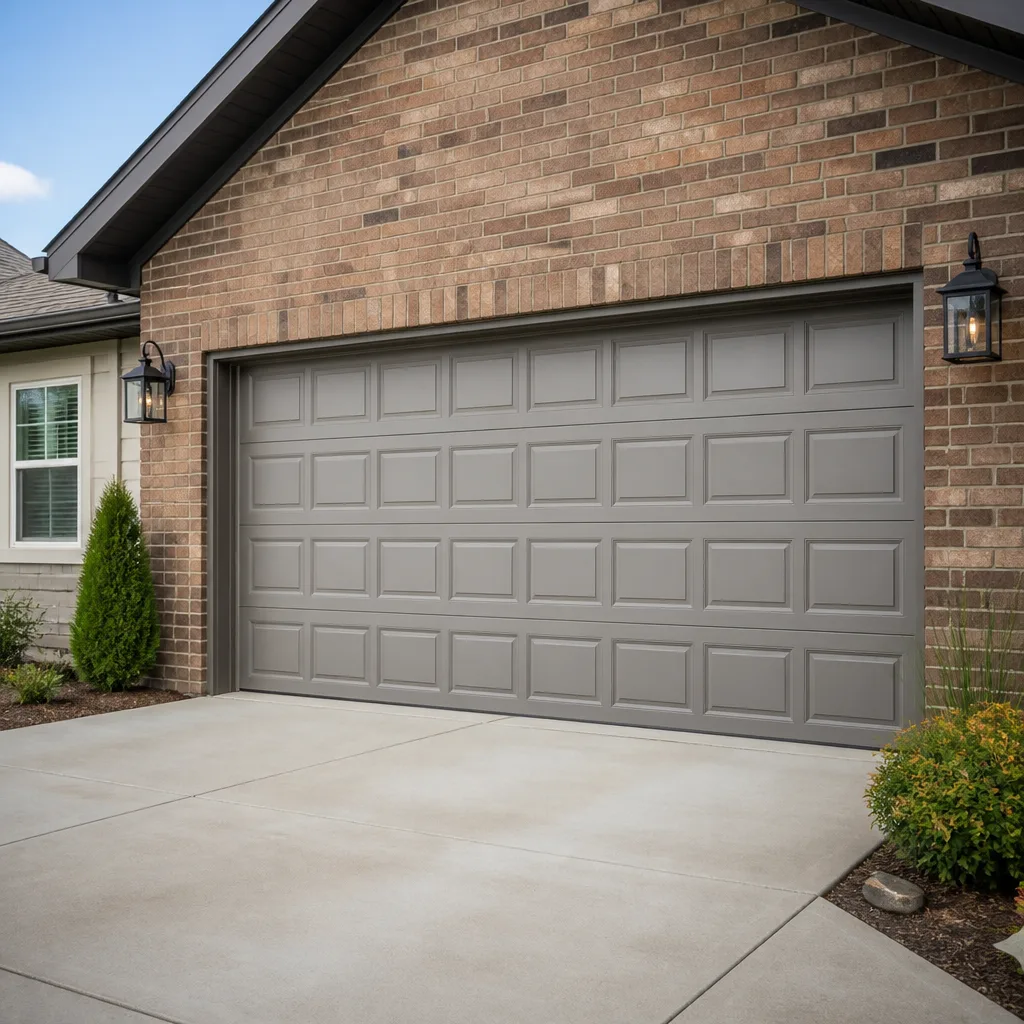 Raised-panel steel
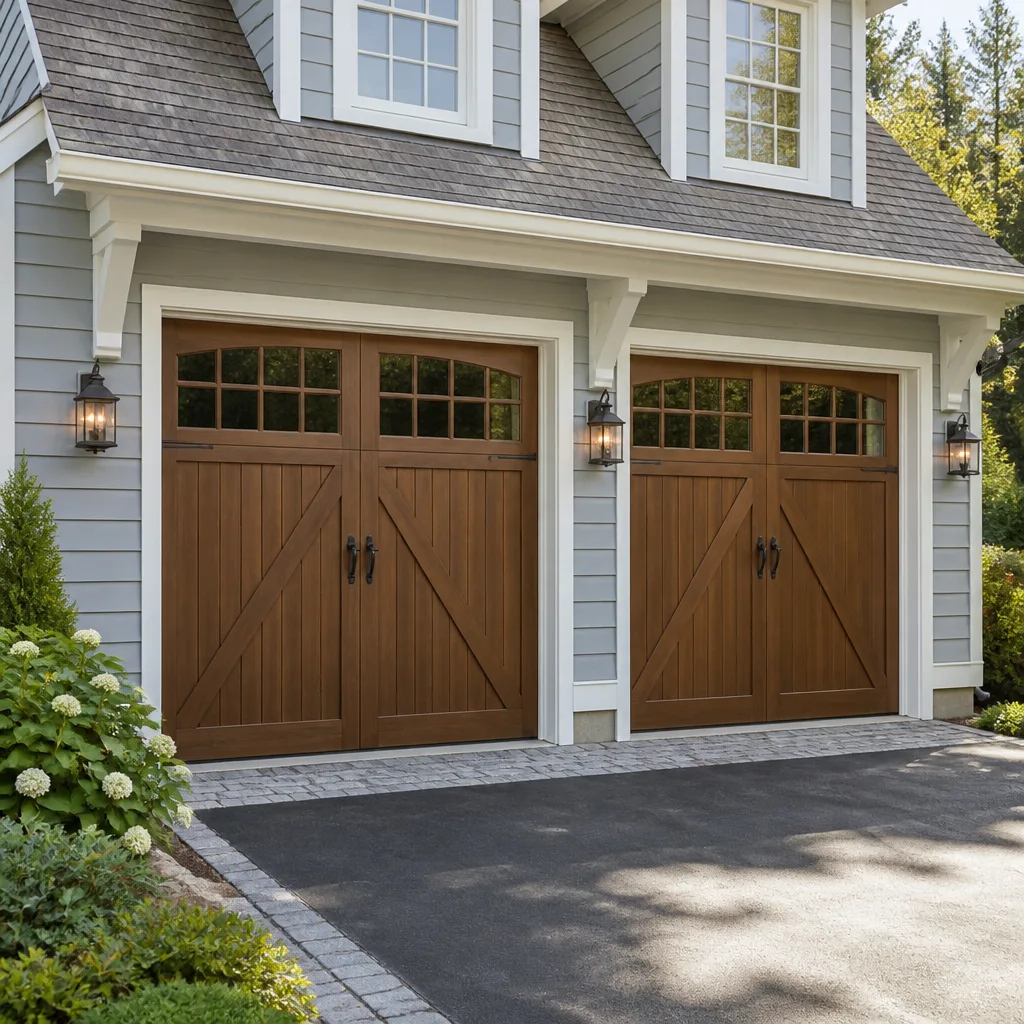 Carriage house
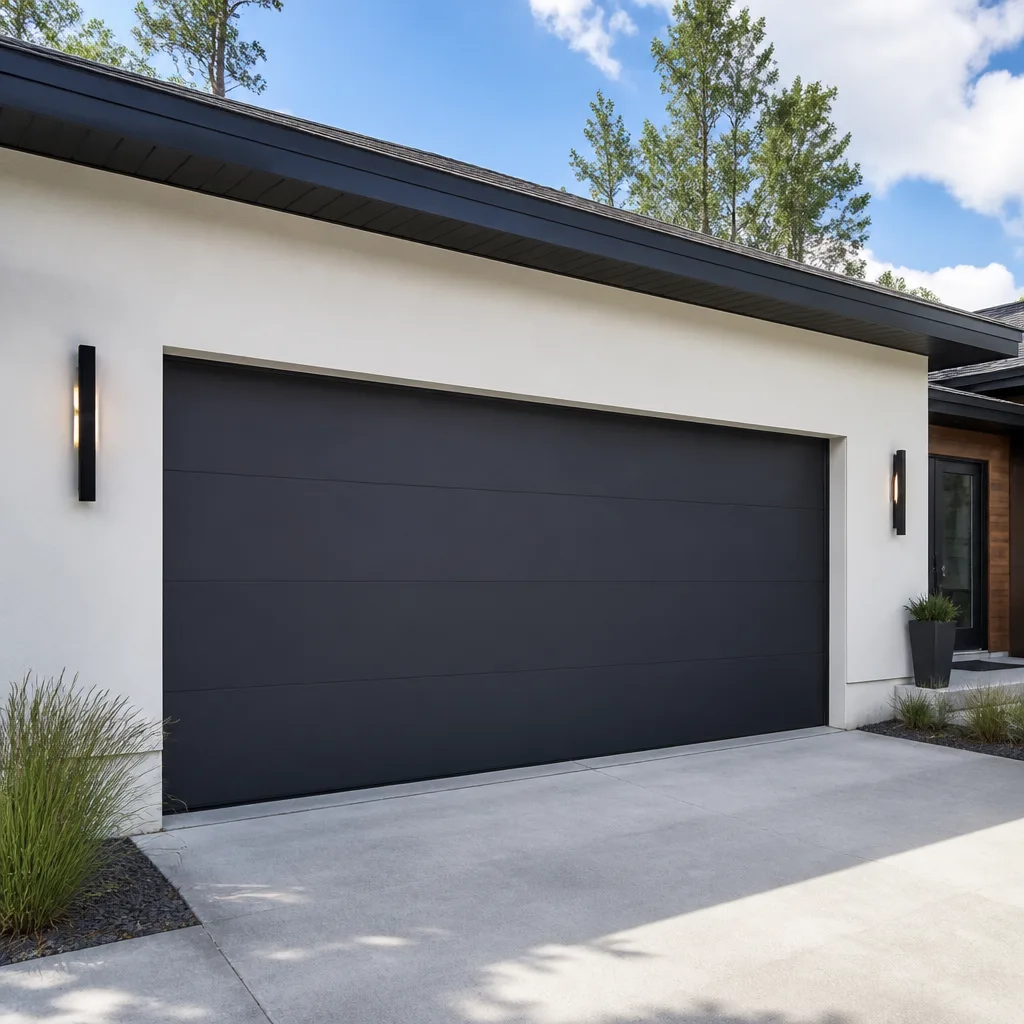 Modern flush
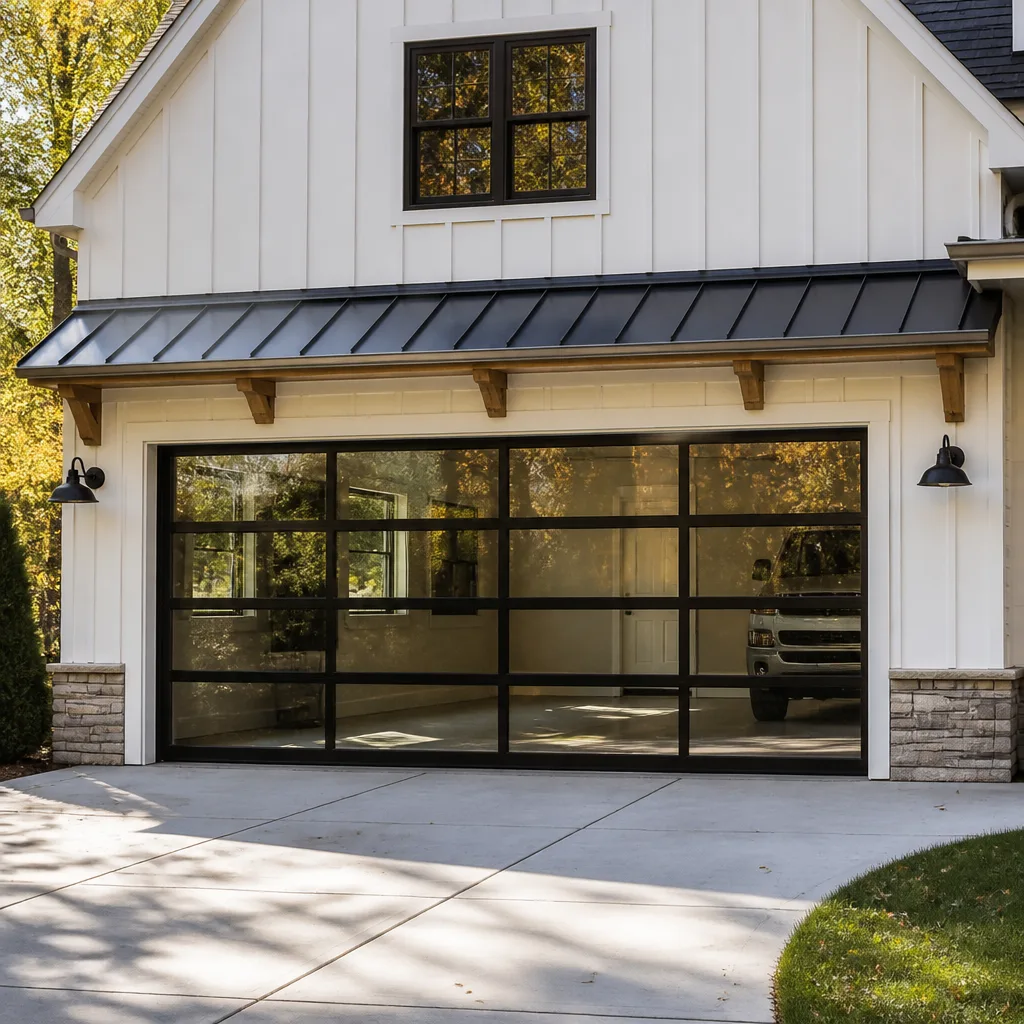 Full-view glass
 LiftMaster openers
 Chamberlain openers
Full 25-point door and opener safety check with every visit - springs, cables, rollers, tracks, and your LiftMaster or Chamberlain opener included
You get a price before we start. It does not change when the truck arrives.
Get your free estimateGarage Door Repair Maintenance Checklist for Queens Homeowners
The number-one reason Queens homeowners call for an emergency repair on a Monday morning is a torsion spring that broke over the weekend. Not a car hitting the door. Not a cable snapping mid-cycle. A spring that fatigued quietly over months and finally let go at 7:42 a.m. when someone was already late for the train. Here’s the part nobody tells you: that spring almost always gave warning signs in the weeks before it failed. A door that felt heavier. A slight lean when halfway up. A faint creak that wasn’t there in June. This guide, which complements our Garage Door Warning Signs: A Queens Homeowner’s Reference Guide, is built from what our technicians actually document across Queens, from Astoria to the Rockaways, and it’s organized so you can catch the failure before it catches you. You’ll learn what to check monthly, what to leave to a trained professional, and what a Queens garage door actually costs to keep running.
Quick Answer
A proper garage door maintenance checklist for Queens homes comes down to two tasks you can do safely each month (a force-balance test using the manual release handle, and a visual inspection of rollers, cables, and tracks) plus two annual tasks that need a professional (torsion spring tension calibration and opener limit switch adjustment). Most Queens garage doors need spring replacement every 7 to 10 years, roller replacement every 5 to 7 years, and opener adjustment every 2 to 3 years. Skipping monthly checks is how a $14 roller becomes a $375 emergency call.
Styles & brands we work with
Table of Contents
- Monthly vs. Annual: The Split That Makes This Checklist Actually Usable
- The Force-Balance Test: Predict a Spring Failure Before It Happens
- Rollers and Tracks: What That Grinding Noise Actually Means
- Lubrication: Why WD-40 Is the Wrong Call and What to Use Instead
- Limit Switch Settings: The “Reverses Before It Closes” Symptom Explained
- Queens-Specific Failure Patterns: What Salt Air, Temperature Swings, and Tight Garages Do to Your Door
- Common Mistakes to Avoid
- When to Call a Professional
- Frequently Asked Questions
Monthly vs. Annual: The Split That Makes This Checklist Actually Usable
Most maintenance checklists read like a phone book: thirty items, no priority, no sequence, and no chance anyone actually does them. We’ve built this one differently. The monthly list takes fifteen minutes and requires no tools beyond your hands and your eyes. The annual list requires a professional, and for good reason. Torsion springs hold enough tension to remove a finger. Cables under load can slice through a work glove. The split is simple: you monitor, we calibrate.
Monthly checklist (homeowner, 15 minutes, no tools):
- Force-balance test: Pull the manual release handle (the red cord hanging from the opener rail) and lift the door halfway. It should stay put. If it drops or drifts, spring tension is off. Full instructions below.
- Visual roller inspection: Look at each roller where it meets the track. Flat spots, wobbling, or a roller that’s no longer round means replacement time.
- Track alignment check: Stand inside the garage and look down the vertical track. It should be perfectly straight. Any gap between the track and the wall wider than your thumb means the track has shifted.
- Listen test: Open and close the door once. Grinding = roller problem. Squeaking = dry metal. Rattling = loose hardware. A single bang = torsion spring. That’s the emergency one.
- Cable check: Look at the two steel cables running up both sides. Fraying, rust, or a cable that looks like it’s separating from the drum means replacement, and it’s not a DIY job.
Annual checklist (professional, 45 to 60 minutes):
- Torsion spring tension calibration: We measure the actual lift weight of the door and adjust spring tension to match. This is the single most important preventive step, and the most dangerous to do wrong.
- Limit switch verification: We confirm the door opens to full height and closes flush to the floor, and adjust the limit switch if either setting has drifted.
- Safety reversal test: We test the auto-reverse function with an actual obstruction, as required by federal regulation UL 325.
- Bearing and bracket inspection: We check the spring brackets, end bearing plates, and hinge fasteners for wear or loosening.
- Lubrication of the correct parts with the correct products: Details below, but the short version is silicone spray on rollers and hinges, white lithium grease on the opener rail.
If you’ve just moved into a Queens home and don’t know the service history of the garage door, start with the annual professional inspection. A door with no maintenance records is a door that hasn’t been maintained. We’ve done thousands of inspections across Queens, and the average neglected door needs $80 to $150 in catch-up work. The average door that’s been checked annually needs nothing.
The Force-Balance Test: Predict a Spring Failure Before It Happens
The force-balance test is the single most predictive maintenance step a homeowner can do, because a garage door spring doesn’t fail all at once. It weakens. The door gets fractionally heavier each month. Your opener compensates by working harder, and then one morning the spring snaps and you’re calling us at 6:40 a.m. with the door stuck down and your car trapped inside. That phone call happens every day in Queens. It doesn’t have to.
How to run a force-balance test safely, step by step:
- Close the garage door completely. Never run this test with the door partway up.
- Locate the manual release handle. It’s the red cord or handle hanging from the trolley carriage, which is the metal assembly that rides along the opener rail above your car.
- Pull the handle down and toward the door. You’ll hear a click. The door is now disconnected from the opener. It will not move on its own, and you’ve removed the opener’s motor from the equation.
- Lift the door by hand to chest height, roughly 3 to 4 feet. Use the handle at the bottom of the door panel. Lift slowly and evenly.
- Let go. The door should stay exactly where you left it. Maybe drift an inch, no more.
- If the door drops or slams down: Spring tension is too low. The spring is fatigued or broken. Call a professional before the opener burns out compensating for the extra weight.
- If the door rises on its own: Spring tension is too high, which is just as hard on the opener and the door panels. Call a professional for recalibration.
- Reconnect the door to the opener. Pull the release handle again, then run the opener until you hear the trolley re-engage with a click.
In Queens, we see spring fatigue accelerated by one factor more than any other: uninsulated garages. Most garages here are attached to prewar homes with wood framing and no insulation in the ceiling. The temperature inside a Flushing garage in January can swing thirty degrees between midnight and noon. Torsion springs are steel. Steel expands and contracts with temperature. That daily stress cycle shortens a spring’s life by two to three years compared to a climate-controlled garage. A spring that would last nine years in a heated garage lasts six or seven here. The force-balance test catches that fatigue early, because the door literally gets heavier in your hands. For a fuller picture of what spring failure looks like and what it costs, see our guide on Garage Door Repair in Queens.
Rollers and Tracks: What That Grinding Noise Actually Means
When a Queens homeowner calls us and describes “a grinding noise” when the door is halfway up, we know before we arrive what we’re going to find. It’s not the opener motor. It’s not the springs. It’s a flat spot on a roller. Garage door rollers are small wheels, typically steel or nylon, that ride inside the metal track and carry the door panels up and down. A roller with a flat spot doesn’t roll anymore. It slides, scrapes, and vibrates. The noise you’re hearing is metal dragging against metal.
Rollers wear out on a predictable schedule. Standard rollers last five to seven years in Queens. Nylon rollers with sealed bearings last longer, usually eight to ten. The catch is that most homes have builder-grade steel rollers with no bearings at all. They’re cheap, they’re loud, and they fail at exactly the five-year mark. If your home was built or last renovated in the 2010s, your rollers are due.
How to inspect rollers without removing anything:
- Close the door and stand inside. Look at the rollers on each side, where the roller stem meets the door bracket.
- Check for flat spots. A healthy roller is perfectly round. A worn roller has a visibly flat section, like a car tire that’s been skidded.
- Check for wobble. Put light pressure against the roller with your finger (not while the door is moving). It should not shift side to side more than an eighth of an inch.
- Look for black dust or metal shavings. If you see fine black powder on the track below a roller, that’s the roller wearing itself down. Replacement is overdue.
- Check the tracks themselves. They should be smooth and free of dents. A dented track in a tight Queens garage usually happens when a car bumper or a trash bin hits it. Track damage is a professional repair, because bending a track back by hand almost always makes it worse.
Track alignment matters more in Queens than in other places for one specific reason: tight clearances. Many Queens garages are narrow, built for cars from the 1960s, not the SUVs and crossovers most families drive now. That means the door runs closer to the walls, and any track shift gets hit sooner. We’ve seen tracks knocked out of alignment by a recycling bin that shifted against the wall. If your track has visible gaps from the wall, or if the door hesitates at the same point every time it moves, the track has moved. A professional can re-align it in under an hour, and in our experience, it’s the most common $100-to-$200 repair that prevents a $700-to-$900 full track replacement two years later.
Lubrication: Why WD-40 Is the Wrong Call and What to Use Instead
Walk into any hardware store in Queens and look at the garage door section. WD-40 will be right there on the shelf, next to the garage door lubricant. It’s not the same thing. WD-40 is a water displacer and light solvent. It’s designed to free rusted parts and clean metal. It is not a lubricant for moving parts under load. If you spray WD-40 on your rollers and hinges, it will quiet the squeak for a few days, then it will evaporate and leave the metal parts drier than they were before. You’ll be lubricating again in a week, and the underlying wear will continue.
Here’s what actually works, and where to use it:
- Silicone spray (dry or wet) on rollers, hinges, and springs: Silicone spray doesn’t attract dirt, it stays in place, and it works on both steel and nylon rollers. It’s the right product for every moving part that isn’t the opener rail. Look for a spray labeled “garage door lubricant” with silicone as the main ingredient. Genie and Chamberlain both make a version, and they’re identical for this purpose.
- White lithium grease on the opener rail (chain-drive or screw-drive only): The opener rail is the long metal track above your car that the trolley rides along. White lithium grease is thick, it stays put, and it’s designed for metal-to-metal contact under load. For belt-drive openers, skip the rail entirely. The belt does not need lubrication, and greasing it will shorten the belt’s life.
- Never lubricate the opener motor itself. The motor is sealed. Spraying it with anything can void the warranty and does nothing for the mechanism.
- Never lubricate the track channels. The tracks do not need lubrication, and adding grease to the inside of a track actually creates resistance. You’re making the rollers work harder. Rollers roll. Tracks guide. Only the roller bearings and hinge pins need lubricant.
- Never lubricate the torsion spring excessively. A light coat of silicone spray on the coils is fine once a year. But grease on coils attracts dust, which creates abrasion between the coils under tension. Too much lubrication is worse than none on a torsion spring.
The lubrication schedule that matches what we do on professional maintenance calls is this: hinge pins and roller bearings every six months with silicone spray; opener rail with white lithium grease every year, for chain-drive and screw-drive openers only; torsion spring with a light silicone mist every year. That’s the whole program. Ten minutes, twice a year, and you’ve eliminated the most common source of “that creaking noise” calls we get from Queens homeowners. The brands you’ll see most often on Queens openers are LiftMaster, Chamberlain, and Genie. All three have the same lubrication needs on the hardware side. If you’re hunting down which opener you have, the model label is on the motor housing, usually on the right side facing the door.
Limit Switch Settings: The “Reverses Before It Closes” Symptom Explained
Here’s a phone call we get a lot from Queens homeowners: “The door starts to close, covers about a foot of travel, and then reverses back up like there’s something in the way. But there’s nothing in the way.” That’s a limit switch problem, and it has a specific cause. The limit switch (or travel module, depending on the opener) tells the opener how far down the door should travel before the motor cuts off. When the limit setting drifts too far down, the opener thinks the floor is lower than it actually is, and it interprets hitting the real floor as hitting an obstruction. So it reverses. The safety system is working exactly as designed. The limit setting is just wrong.
This matters for Queens homeowners because of where the limit switches sit in older openers. Most pre-2010 LiftMaster and Chamberlain units use physical limit screws on the motor housing. Those screws are exposed to garage air, and near the water, in places like Howard Beach, Broad Channel, or the Rockaways, salt air accelerates corrosion on the exposed contacts. The same drift happens in newer belt-drive models with electronic travel modules, but in those cases it’s usually from power surges, not salt corrosion. Queens gets both failure modes: salt-corrosion drift in the older units, surge-related drift in the newer ones.
How to confirm it’s a limit switch issue, not a safety sensor issue:
- Check the safety sensors first. The two small photo eyes at the bottom of the door opening, one on each side, should have solid lights. One amber, one green on most LiftMaster and Chamberlain units. If either light is blinking or off, the sensors are misaligned or dirty, and that’s a different problem with an easy fix.
- If the sensor lights are solid, run the door and watch the process. When the door reverses, does it reverse at the same point every time? Consistent reversal at the same height points to the limit switch.
- Check if the opener has physical limit screws or an electronic module. If you see two small adjustment screws on the motor housing labeled “up” and “down,” you have the older system. Do not turn them. A quarter-turn too far on a “down” setting will drive your door into the floor and can bend the bottom panel.
- Call a professional for limit adjustment. This is a ten-minute fix for a trained technician who does it daily. It’s $75 to $150 depending on the opener, and it prevents the bent bottom panel that happens when homeowners try to adjust limits themselves.
We replace or adjust limit switches on openers all over Queens, and the most common opener brands we see this on are LiftMaster and Chamberlain. Belt-drive models from both brands have the same electronic travel module, and it’s a known drift issue after power outages. If you’re in an older Queens home with a chain-drive Genie from the early 2000s, the limit screws are the culprit most of the time. Either way, if your door reverses before it closes and the sensor lights are solid, you’re looking at a limit switch adjustment. For more detail on opener-specific issues, see Garage Door Opener Repair in Queens.
Queens-Specific Failure Patterns: What Salt Air, Temperature Swings, and Tight Garages Do to Your Door
Garage door failure patterns in Queens don’t look like the national averages. We document this in our service records, and the differences come down to three local factors: coastal salt air, wide temperature swings, and tight garage geometry. If your checklist accounts for these three, you’re already ahead of 90% of the maintenance guides on the internet.
Salt air corrosion near the water. The neighborhoods closest to Jamaica Bay and the Atlantic Ocean (Howard Beach, Broad Channel, the Rockaways, parts of Far Rockaway and Arverne) see accelerated corrosion on every exposed metal component of a garage door. Steel rollers rust faster. Hinge pins seize. Cable strands break down. The torsion spring develops pitting on the surface of the coil, which creates stress concentrations and shortens spring life. We replace springs in the Rockaways at roughly twice the rate we replace them in Forest Hills or Rego Park. If you live within two miles of open water, your annual professional inspection matters more, not less. The checklist stays the same. The stakes are higher.
Temperature swings in uninsulated garages. Most garages in Queens are unheated and uninsulated. In a Flushing or Bayside garage with a flat roof and no insulation, the temperature inside can swing from 28 degrees at night to 55 degrees on a sunny February afternoon. That’s 27 degrees of metal expansion and contraction every single day. The torsion spring is the component most affected, but the opener’s limit switch contacts also cycle through thermal stress, and cable drums work loose faster than they do in climate-controlled garages. If your garage is uninsulated (most are), add a mid-winter spring inspection to your annual routine. February is the worst month for spring failures in Queens, by our service volume, and it’s not close.
Tight garage geometry and panel damage. Queens garages are narrow. A 1930s-built garage in Astoria was built for a Model A, and you’re parking an SUV in it. That means the door panels are closer to the wall than they ever were in the original design, and every parking mistake hits the door track instead of the wall. We see dented tracks, bent panels, and knocked-out rollers from exactly this scenario on a weekly basis. The maintenance angle is this: check your track-to-wall clearance once a month. If you have less than two inches of clearance on either side, be extra deliberate pulling in and out, and check for track contact damage more frequently. A bent track is a $150 to $250 repair on its own. A bent track plus a broken roller plus a knocked-out panel is a $600 to $900 repair. For a look at full door replacement options when damage exceeds repair, see Garage Door Installation in Queens.
Common Mistakes to Avoid
- Lubricating everything with WD-40. As covered above, WD-40 is a solvent, not a lubricant. It cleans and then evaporates, leaving the metal drier than before. Use silicone spray on moving parts and white lithium grease on the opener rail only.
- Ignoring the force-balance test because “the door still works.” The whole point of the test is to catch the spring weakening before the door stops working. A door that still works is exactly when you want to run it. If it fails the test, you just saved yourself a Monday morning emergency call.
- Adjusting torsion springs by yourself. Torsion springs are the most dangerous component on your property. They hold hundreds of pounds of tension, and a spring that releases unexpectedly can break bones or cause permanent injury. Never adjust them without the proper winding bars, training, and experience.
- Adjusting limit switches by yourself. A quarter-turn too far on a “down” limit screw will drive the door into the concrete floor. You’ll bend the bottom panel and need a replacement. The adjustment itself is cheap. The damage from a wrong adjustment is not.
- Lubricating the track channels. Tracks do not need lubrication. Adding grease inside the track creates resistance and collects dirt, which grinds down your rollers faster. The rollers need the lubrication, not the track.
- Ignoring a grinding noise because “it’s been doing that for months.” A grinding noise is a flat spot on a roller, and the flat spot is chewing through the track while you ignore it. A $14 roller replacement becomes a $180 track replacement if it goes long enough. We’ve seen this progression in Queens garages more times than we can count.
- Skipping the annual professional inspection because the door “seems fine.” The annual inspection is not for the door that seems broken. It’s for the door that seems fine. That’s the door that’s about to surprise you. The inspection is cheaper than every repair it prevents.
When to Call a Professional
Call a professional the moment you notice any of the following: a torsion spring that’s visibly broken or making a loud bang when it fails; a door that fails the force-balance test; a cable that’s frayed, rusted, or off the drum; a track that’s dented or pulled away from the wall; or a door that reverses before closing with solid sensor lights. These are not DIY situations, and in every one of these cases, the repair is cheaper than the damage that follows from waiting. Doyle Garage Doors Queens offers free estimates across Queens, with the technician’s name and photo sent to you before the visit. Call (585) 440-5777 and you’ll speak to a real person, day or night, weekends and holidays.
Frequently Asked Questions
Lubricate the hinge pins and roller bearings with silicone spray every six months, and apply white lithium grease to the opener rail (chain-drive or screw-drive openers only) every twelve months. Salt air near the water accelerates metal wear, so homeowners in Howard Beach, the Rockaways, and Broad Channel should lean toward every four months for coastal-exposed doors. Call (585) 440-5777 and we’ll help you set a schedule that matches your neighborhood.
A professional garage door tune-up in Queens typically costs $89 to $149, which includes inspection, adjustment, and lubrication of all moving parts. If your door has not been serviced in years, expect catch-up work like roller replacement or track alignment to add $80 to $200. At Doyle Garage Doors Queens, every tune-up includes a written price before work starts and a written guarantee on the services performed. For How to Hire a Garage Door Contractor in Queens: A Step-by-Step Guide, see our resource on vetting qualified professionals.
Standard torsion springs last seven to ten years nationally, but in Queens we see six to eight years as the realistic range, due to uninsulated garage ceilings and daily temperature swings. Coastal neighborhoods with salt-air exposure can see five to seven. If your spring is approaching the six-year mark and the door fails the force-balance test, replacement is the safer call. For spring replacement costs and options, see our guide on Garage Door Repair in Queens.
If the safety sensor lights are solid, the most common cause of premature reversal is a drifted limit switch, which tells the opener to stop too early and triggers the safety reverse. It’s a $75 to $150 professional adjustment on most LiftMaster, Chamberlain, and Genie openers. If the sensor lights are blinking, the sensors are misaligned or dirty, and cleaning and realigning them usually solves it without a service call.
No. WD-40 is a solvent and water displacer, not a lubricant for garage door components under load. It will quiet a squeak for a few days and then leave the metal parts drier than they were. Use silicone spray on rollers, hinges, and springs, and white lithium grease on the opener rail. Both are available at any hardware store in Queens and are correctly labeled for garage door use.
Broken torsion springs are the most common service call we handle across Queens, followed by flat-spotted rollers and drift in opener limit switches. The spring failure pattern maps to neighborhoods: uninsulated garages in central Queens see mid-winter failures from temperature swings, while coastal areas see faster corrosion across the board. A monthly force-balance test catches weakening springs before the snap. Call (585) 440-5777 for a free estimate, and we’ll send you the technician’s name and photo before we arrive.
The Bottom Line
Queens garages fail in predictable ways, and a maintenance checklist that accounts for this borough’s specific conditions (salt air, temperature swings, tight clearances) will catch most failures before they become emergencies. The fifteen-minute monthly check is the force-balance test plus a visual inspection of rollers, cables, and tracks. The annual professional inspection covers what you cannot safely do yourself: spring tension calibration, limit switch adjustment, and safety reversal testing. Skip the WD-40, use the right lubricant in the right place, and never touch a torsion spring. When something fails, you have a better option than guessing: call a company that tells you exactly who’s coming, what it will cost, and stands behind the work for a full year. The number is (585) 440-5777.
Written by Aaron Teague, Owner at Doyle Garage Doors Queens, serving Queens since 2001.
See the difference
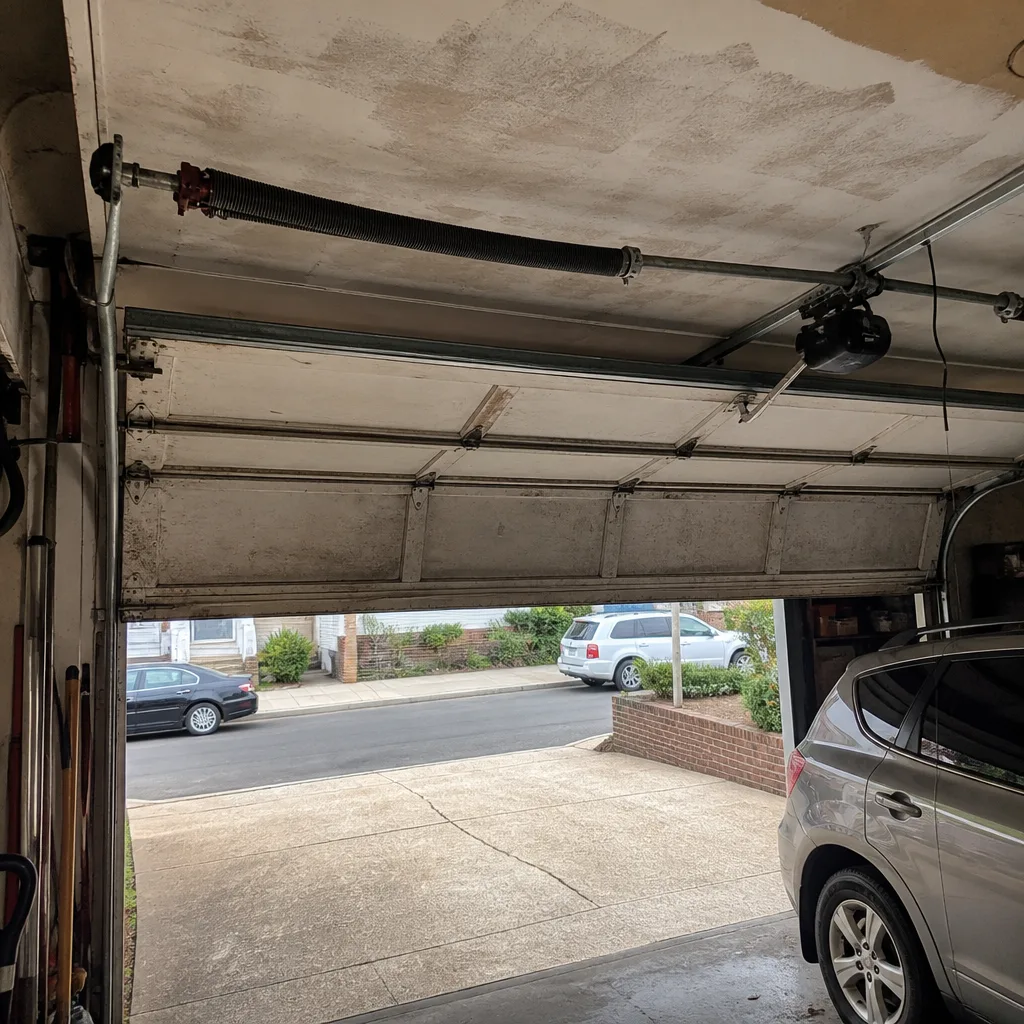 Before
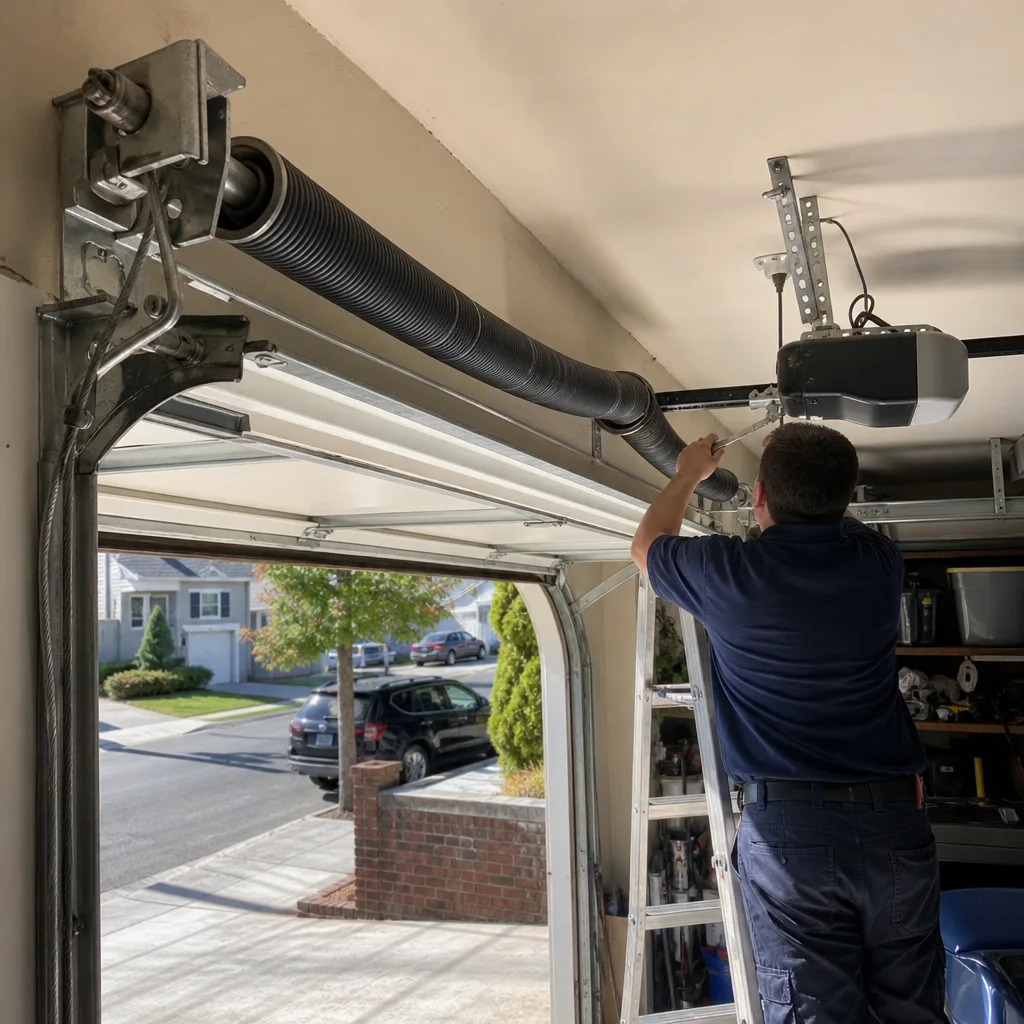 After
After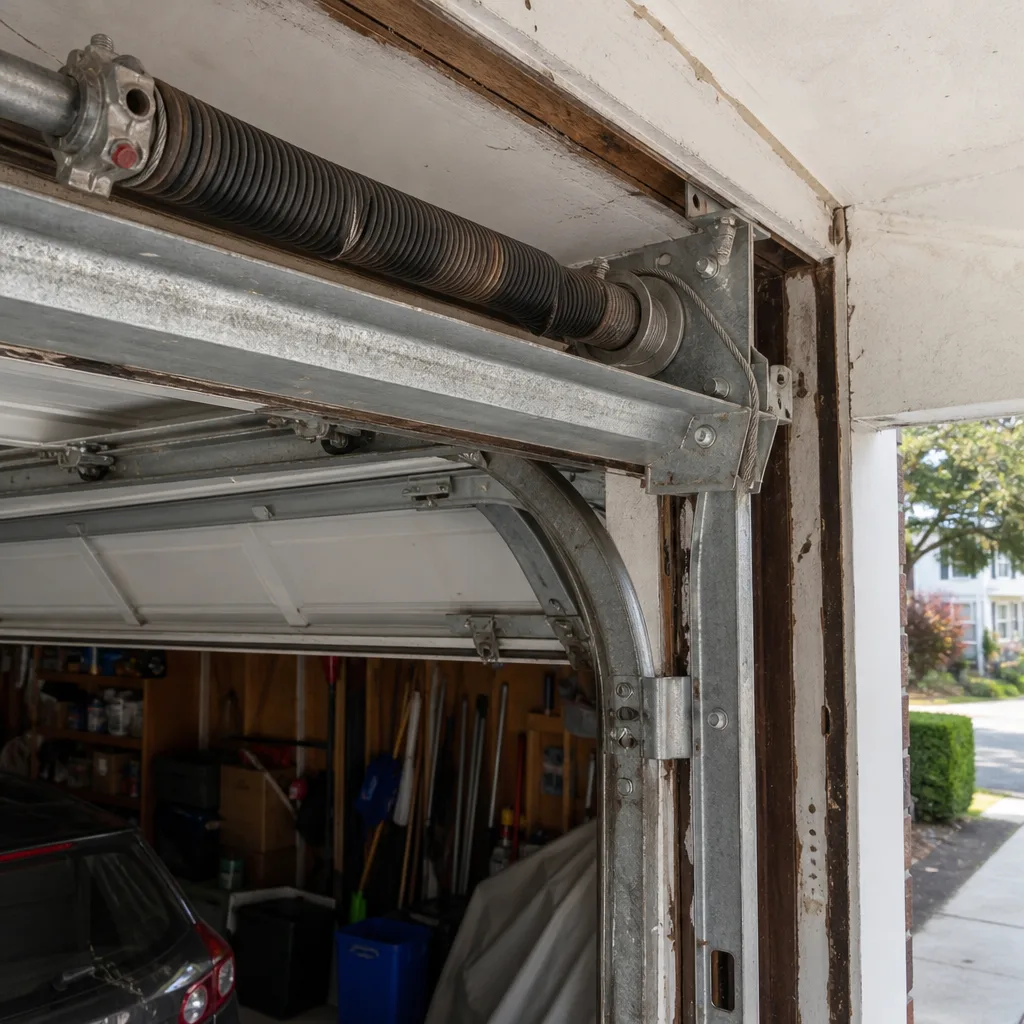 Before
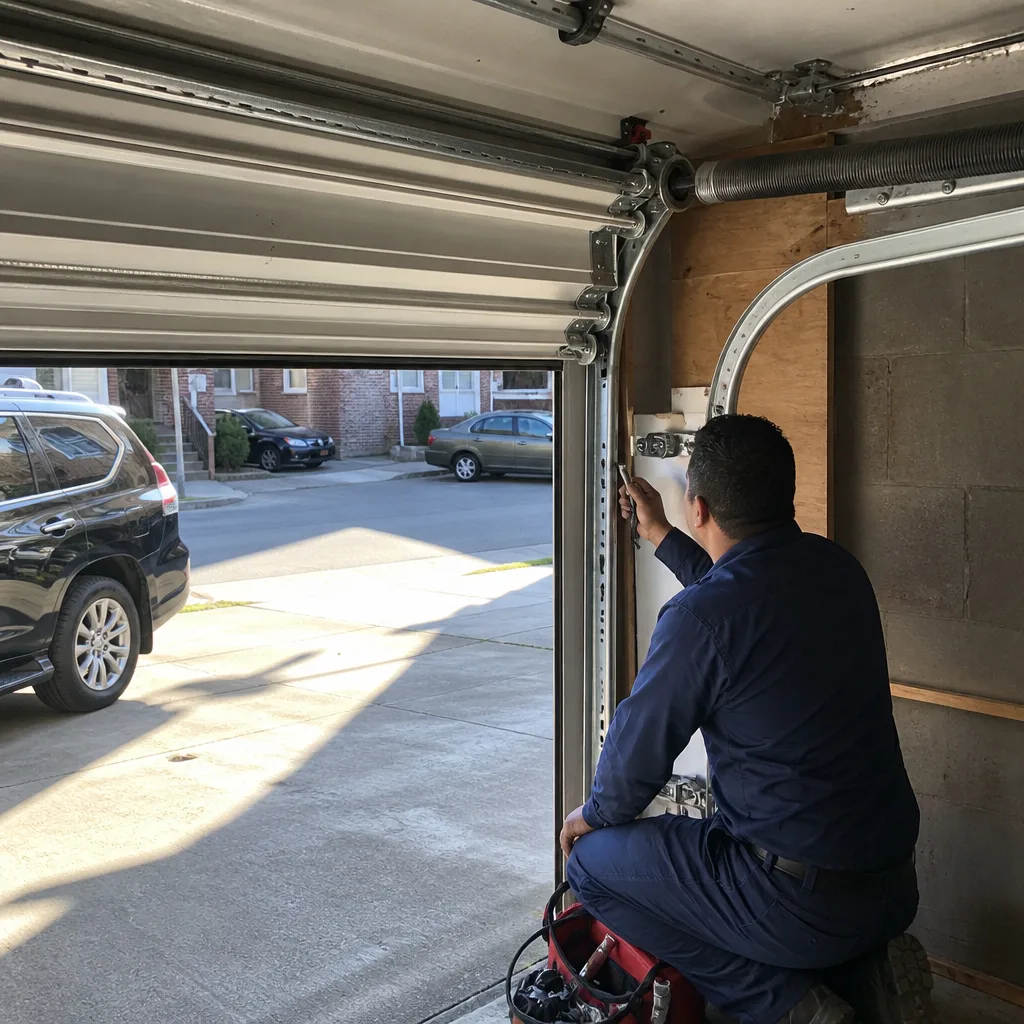 After
After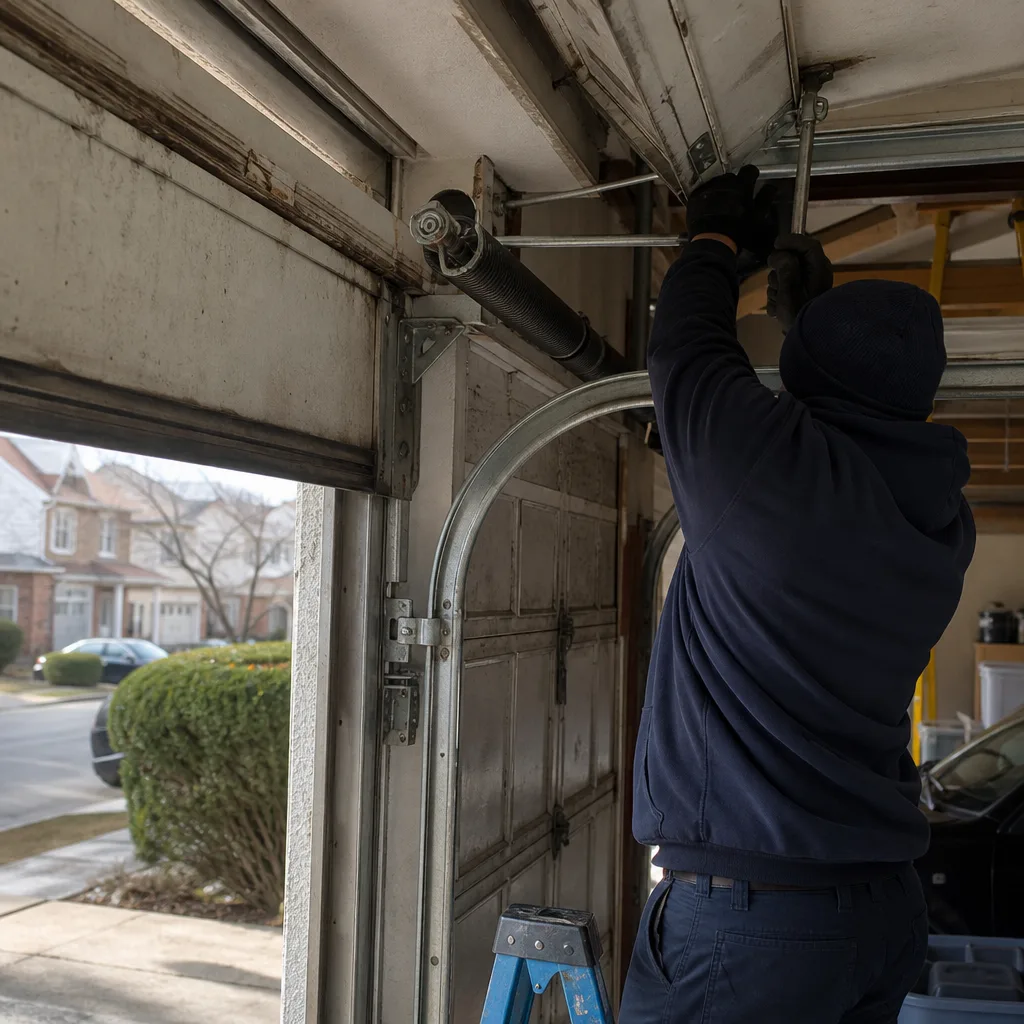 Before
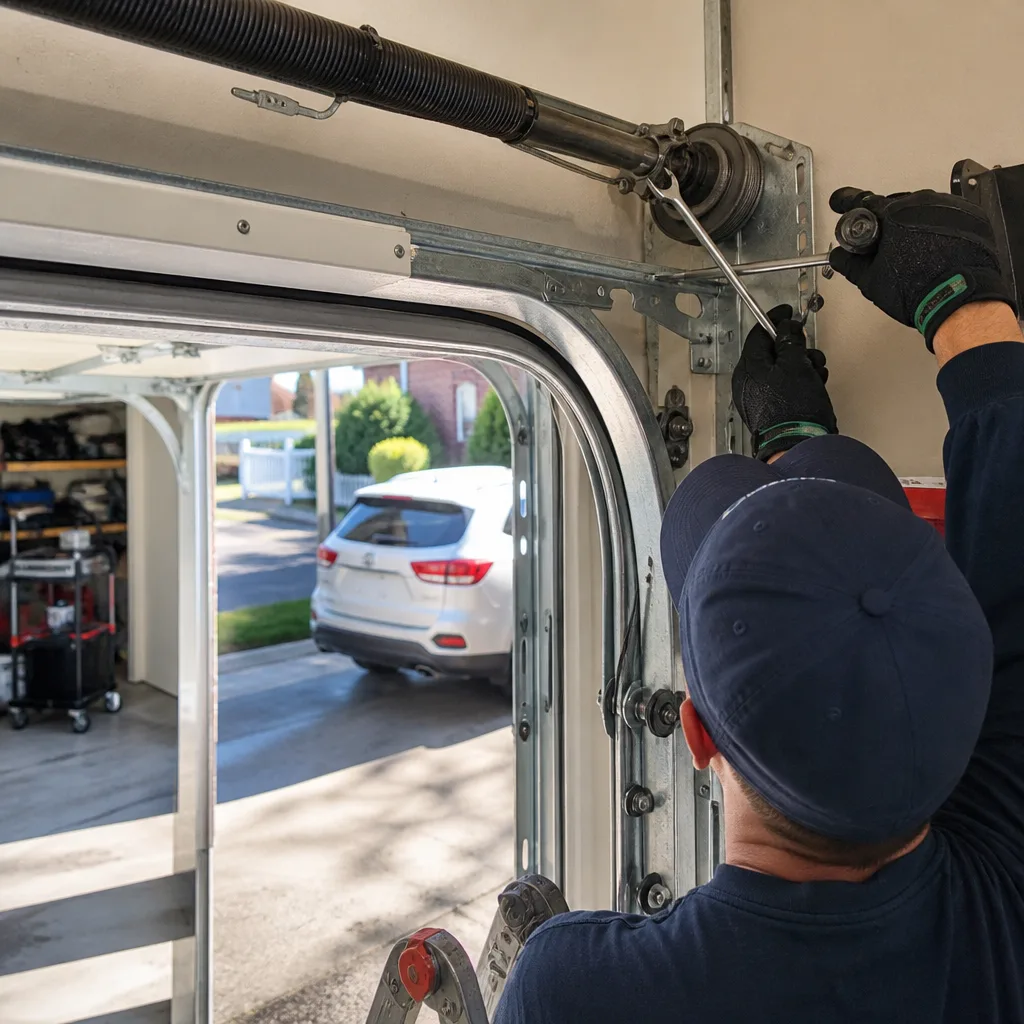 After
After